Schluter®-DITRA-HEAT
$25.35 – $393.82Price range: $25.35 through $393.82
Uncoupling membrane for DITRA-HEAT-E-HK electric floor heating cables
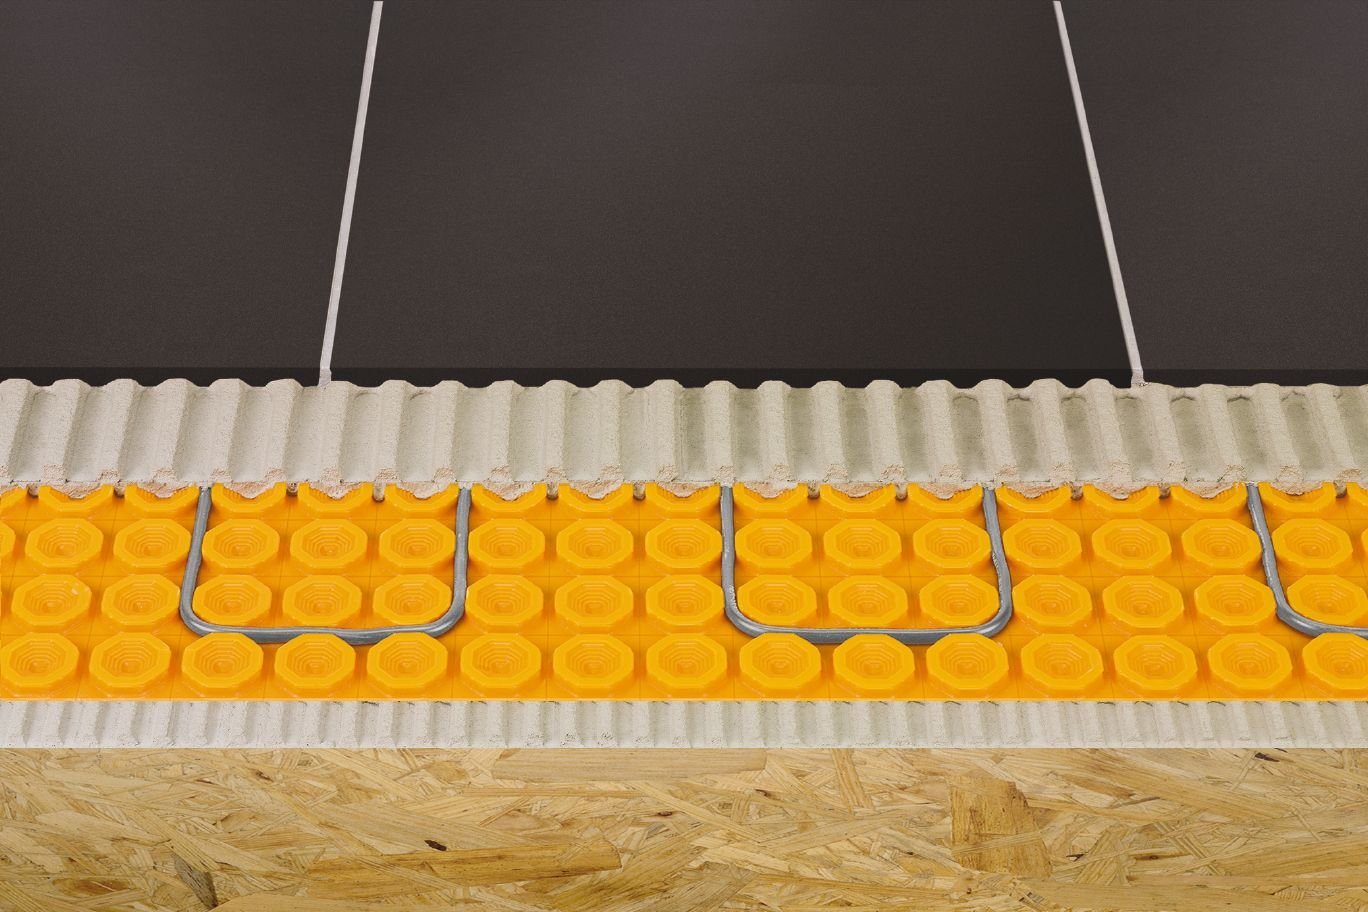
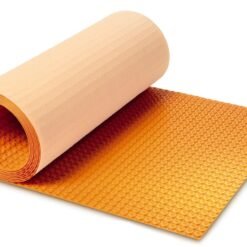
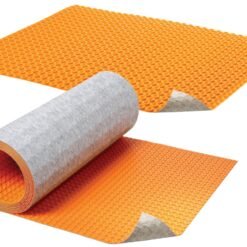
- The stud structure of DITRA-HEAT is specifically designed to allow for the easy installation of DITRA-HEAT-E-HK heating cables
- Nominal 1/4″ (5.5 mm) thickness minimizes tile assembly thickness and reduces transitions to lower surface coverings
- Self-leveling compounds are not required to encapsulate the cables into the membrane
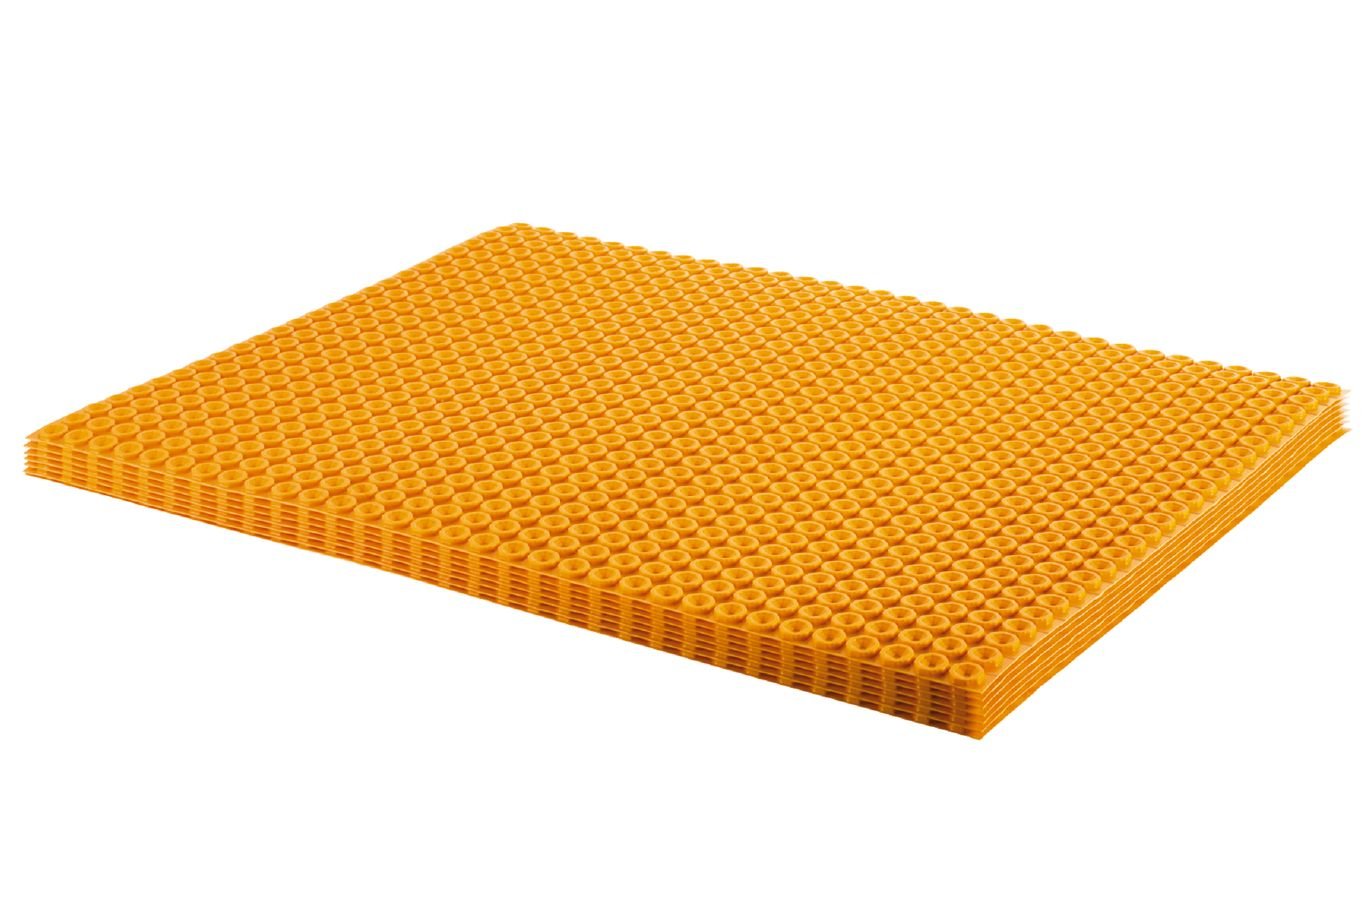
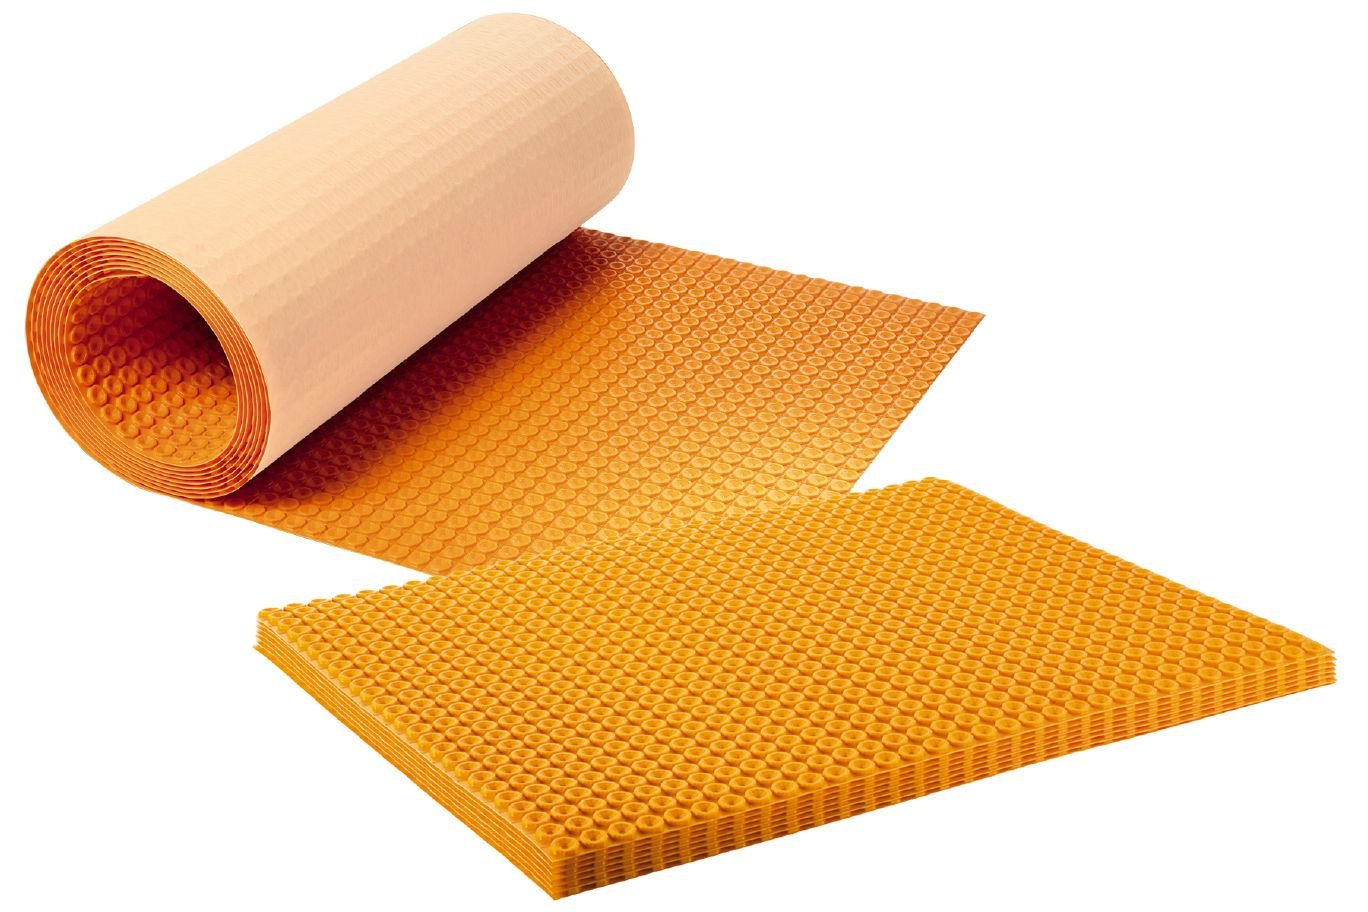
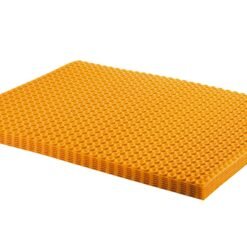
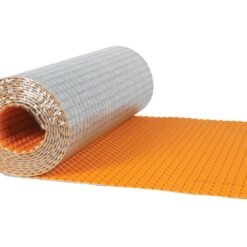
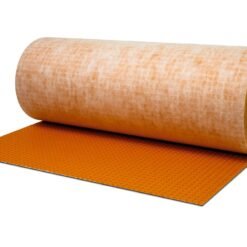
- Available by the roll or by the sheet to accommodate various room sizes
- Quick and easy to install and few tools are required
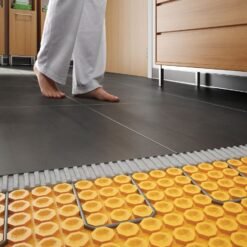
- Provides electric floor warming for use beneath tile, stone, or other resilient floor coverings (e.g. LVT)
- U.S. Pat. No. 8,950,141; 9,428,920; 9,797,146 and U.S. DES. PAT. No. D706459
Canadian Pat. No. 2,822,392
Canada Ⓓ Schluter Systems L.P. and other patents pending
Function
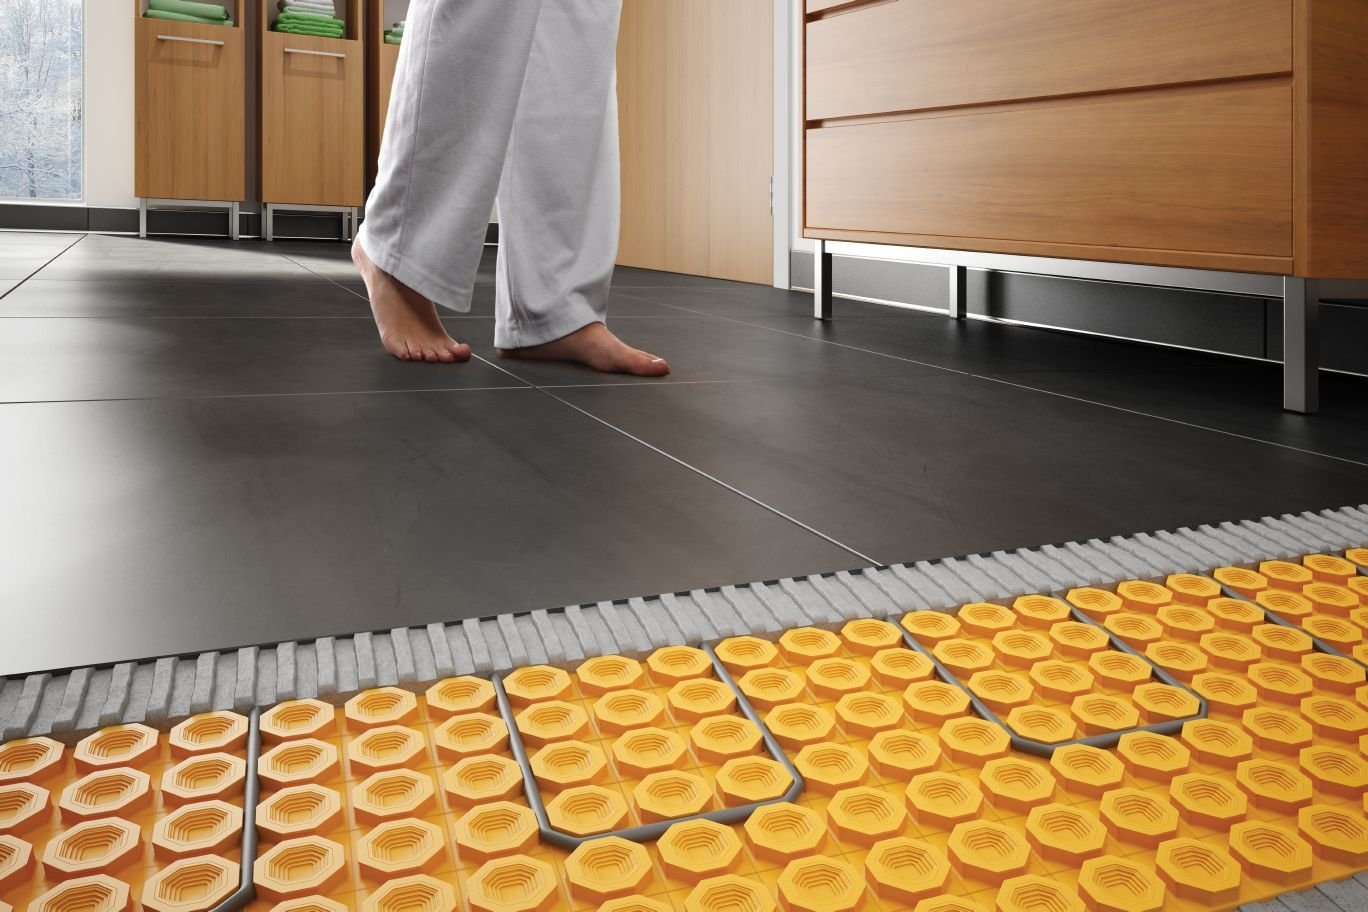
Schluter®-DITRA-HEAT integrates customizable, comfortable electric floor warming with the functions associated with DITRA: uncoupling, waterproofing, vapor management and support to ensure a long lasting installation.
Floor Warming
DITRA-HEAT-DUO combines the flexibility of loose heating cables with the ease of installation of mat systems. Cables can be placed wherever heat is desired, without creating height differences in the floor. Self-leveling compounds are not required to encapsulate the cables for ceramic, porcelain, and stone tiles, significantly reducing installation time and effort compared to uncoupling membranes over other electric floor warming systems. Self-leveling compounds are approved for use only when installing alternative floor coverings over the DITRA-HEAT membranes.
Uncoupling
Tile has been successfully installed for thousands of years by incorporating an uncoupling layer, or forgiving shear interface, within the tile assembly. DITRA-HEAT provides uncoupling through its geometric configuration, which allows for in-plane movement that effectively neutralizes the differential movement stresses between the substrate and the tile, thus eliminating the major cause of cracking and delaminating of the tiled surface.
Waterproofing
DITRA-HEAT provides reliable waterproofing. Its polypropylene composition protects the substrate from moisture penetration, which is particularly important in today’s building environment where most substrates are moisture-sensitive.
Vapor Management
The free space on the underside of DITRA-HEAT provides a route for excess moisture and vapor to escape from the substrate that could otherwise cause damage to the tile covering above. Thus, DITRA-HEAT effectively manages moisture beneath the tile covering.
Support/load distribution
When placed on a solid foundation, columns or pillars can support tremendous loads. The same physical principle applies to DITRA-HEAT installations. Column-like mortar structures are formed in and between the studs on the surface of the matting. Loads are transferred from the tile covering through these column-like mortar structures to the substrate. Since DITRA-HEAT is virtually incompressible within the tile assembly, the advantages of uncoupling are achieved without sacrificing point load distribution capabilities.
Alternate Floor Coverings over DITRA-HEAT
DITRA-HEAT is suitable for applications with engineered wood, vinyl, wood plastic composite (WPC), luxury vinyl tiles (LVT), luxury vinyl planks (LVP), stone plastic composite (SPC) tiles and planks, and laminate flooring. See the Alternate Floor Coverings over DITRA-HEAT Technical Bulletin for more information, including requirements and limitations.
Maintenance
DITRA-HEAT and DITRA-HEAT-DUO membranes do not require any special maintenance.
Installation
All substrates must be clean, even, and load bearing. Bond inhibiting surfaces must be removed prior to the application of DITRA-HEAT. For complete installation guidelines and warranty criteria, please refer to the downloadable Schluter®-DITRA-HEAT Installation Handbook or to the installation video online.
Note: Type, thickness, and format of the tile or stone surface covering must be suitable for the intended application. Minimum tile format is 2″ x 2″ (5 cm x 5 cm).
1. Using a thin-set mortar that is suitable for the substrate, apply the thin-set mortar (mixed to a fairly fluid consistency, but still able to hold a notch) using a 1/4″ x 1/4″ (6 mm x 6 mm) square-notched trowel.
2. Apply DITRA-HEAT to the floor, fleece side down. Solidly embed the matting into the mortar using a float, screed trowel, or DITRA-ROLLER, making sure to observe the open time of the bonding mortar. If the mortar skins over prior to matting installation, remove and reapply. Note: It may be helpful to back roll the end of the matting before installation, or place boxes of tile on top of the matting after installation, to avoid curling.
*When using the DITRA-ROLLER, place a weight (e.g., bags of mortar/grout or box of tile) not to exceed 75 lbs on the DITRA-ROLLER shelf. Slowly move the roller from one end of the matting to the other, slightly overlapping successive passes.
3. Lift up a corner of the matting to check coverage. Proper installation results in full contact between the fleece webbing and the thin-set mortar. Note: Coverage may vary with mortar consistency, angle at which the trowel is held, substrate flatness, etc. If full coverage is not achieved, remove and reapply, making sure to verify proper mortar consistency and application.
4. Abut end and side sections of adjacent sheets. Note: Aligning the studs on the top of the matting during installation can help make subsequent heating cable installation easier.
5. The DITRA-HEAT-E-HK heating cables can now be installed. Installation instructions are covered under the DITRA-HEAT-E-HK product page.
Note: Tile can be installed directly over the DITRA-HEAT membrane immediately after the Schluter®-DITRA-HEAT-E-HK cables have been installed using an unmodified thin set.
Alternate Floor Coverings over DITRA-HEAT
Please refer to detail DH-AFC (see the Technical Bulletin – DITRA-HEAT with Alternate Floor Coverings available in the Downloads tab above) and the Schluter®-DITRA-HEAT Installation Handbook for complete installation guidelines. Estimate your membrane and cable requirements to complete your specific installation.
| Brand | Schluter |
|---|---|
| Product type | membrane |
| Thickness | 5.5 mm (1/4") |
| Membrane area | 0.78 m² (8.4 ft²), 12.5 m² (134.5 ft²) |
Be the first to review “Schluter®-DITRA-HEAT” Cancel reply
Related products
Uncoupling (DITRA)
Uncoupling (DITRA)
Schluter Systems
Schluter Systems
Uncoupling (DITRA)











Reviews
There are no reviews yet.