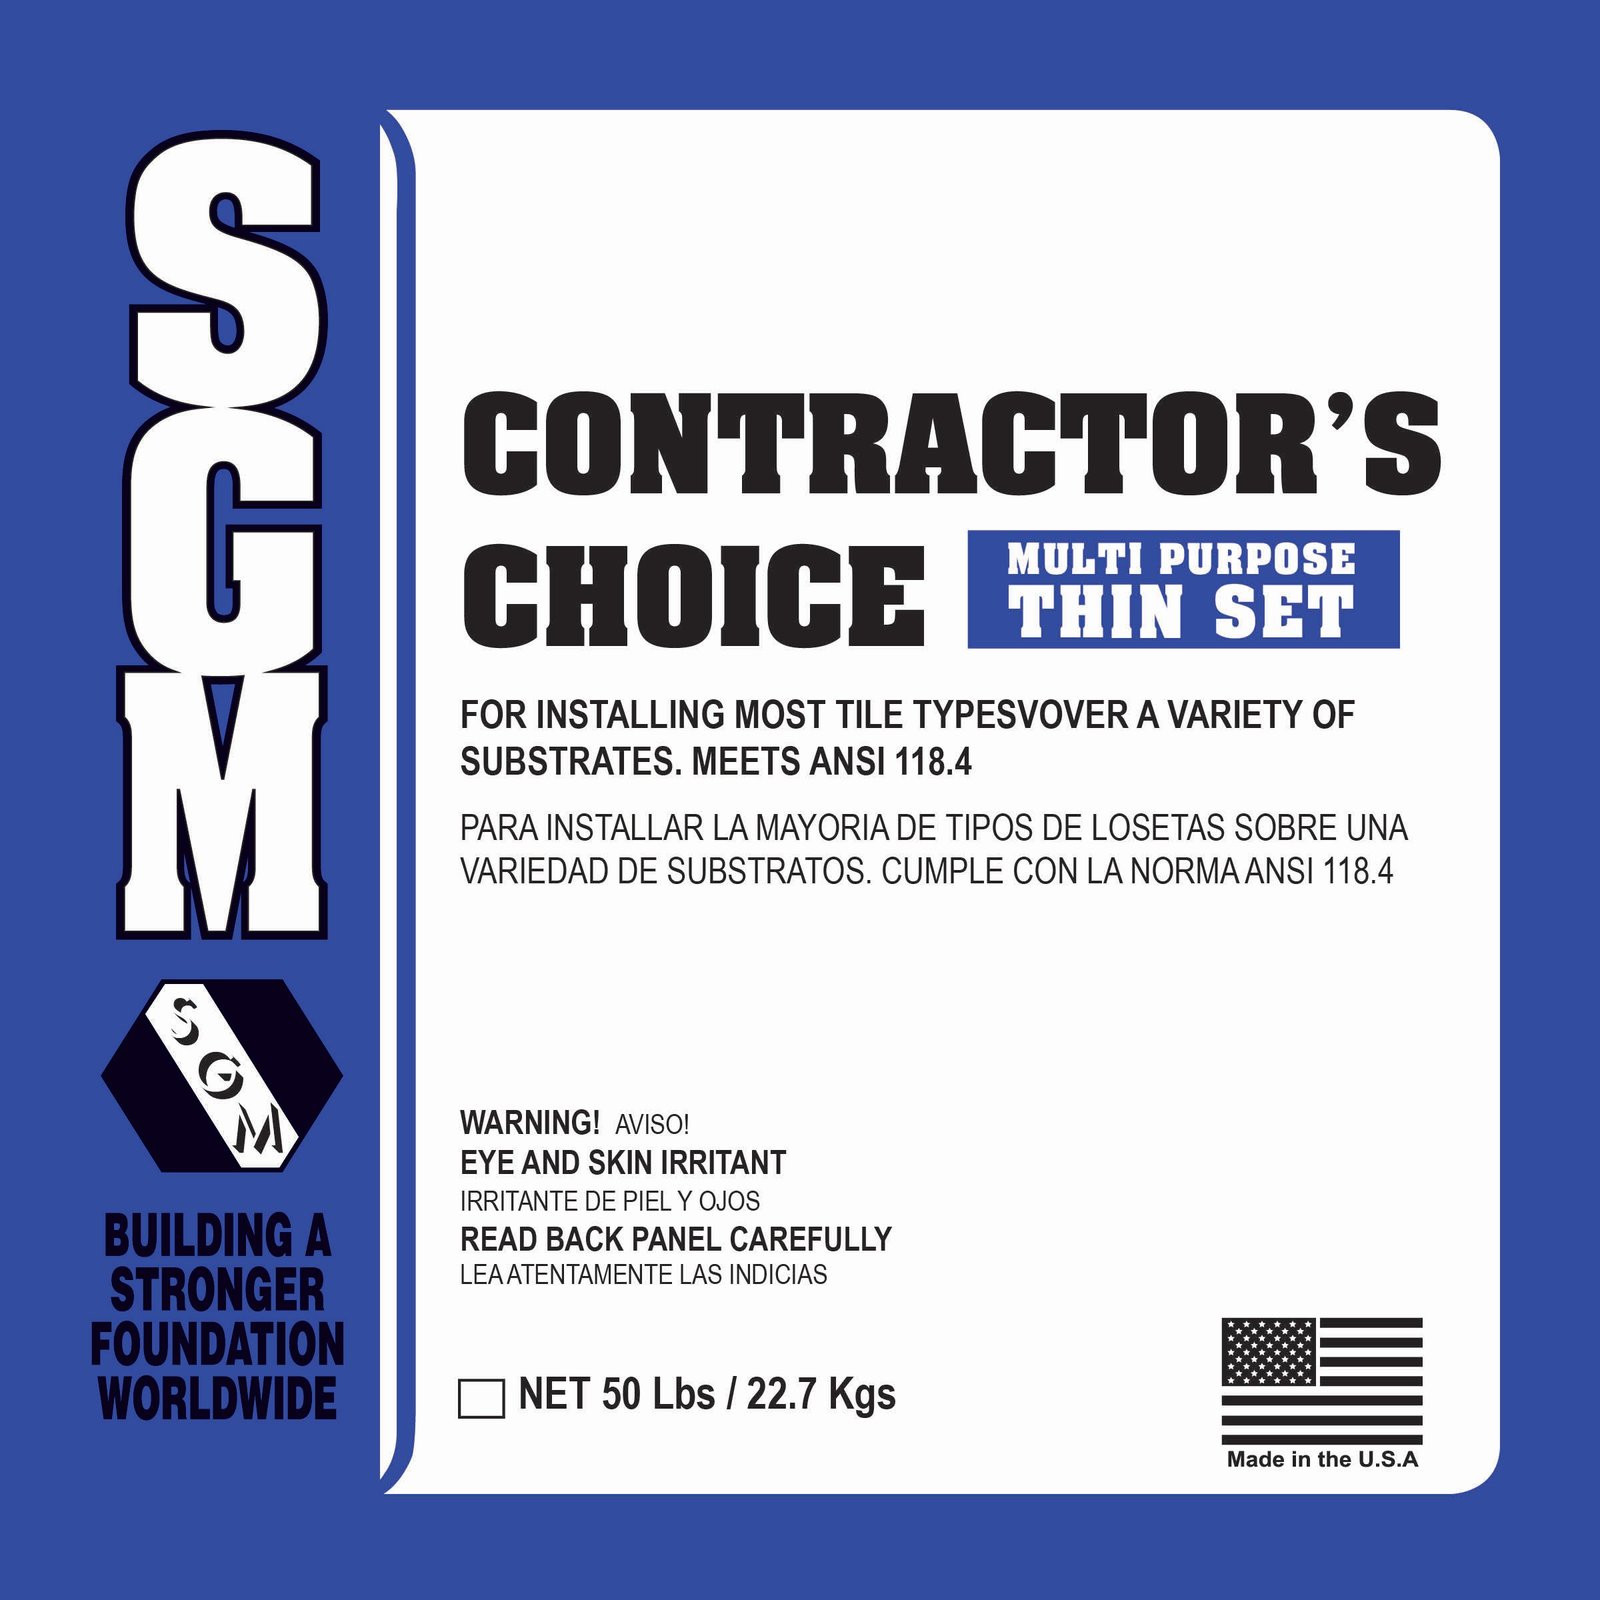
SGM Contractor’s Choice Multi-Purpose Thin-Set Mortar
$8.99 – $9.99Price range: $8.99 through $9.99
Contractor’s Choice Multi-Purpose Thin-Set Mortar is a polymer-modified latex-Portland cement mortar. This product is an economical, multi-purpose mortar formulated specifically for the installation of ceramic and/or mosaic tiles, quarry stone, and dimension stone (absorptive, semi-vitreous, and vitreous) tiles. It may be used for either floors or walls, in both interior and exterior applications where a latex-Portland cement mortar is required.
INSTALLATION
SURFACE PREPARATION
- Concrete And Plaster Surfaces: All floors should be twenty-eight (28) days cured and shall be structurally sound, clean, and free of any moisture, wax, oil, paint particles, curing agents, or foreign matter. The slab should have a steel trowel or broom swept finish. Remove any liquid curing agents or concrete sealers, followed by a clear water wash. Surfaces may be cleaned with sulfamic acid (SGM Safe Clean Crystals) then thoroughly flushed and neutralized. Concrete shall be free of any efflorescence and hydrostatic pressure. Test to confirm that concrete can absorb water by sprinkling water droplets. If water beads up and does not absorb into the substrate, scarify surface via mechanical abrasion with a Carborundum disk followed by a clear water wash. Test again to ensure that water is absorbed into the substrate before proceeding with the installation. Smooth concrete should also be roughened to ensure a mechanical bond. For hot and dry conditions, lightly dampen the surface with water leaving no standing water. When used to install tile in any area that will be continually wet (shower receptors, swimming pools, et cetera) allow mortar to cure a minimum of fourteen (14) days before exposure to water.
- Plywood And Wooden Substrates: All plywood floors (including subfloors) shall be engineered to meet all ANSI requirements. All plywood shall be an exterior grade (for interior, residential, and light commercial use in dry areas only), free of dust, oil, or other foreign matter.
- Alternate Surfaces: To bond over existing ceramic tile, marble, vinyl, VCT, and resilient flooring, floors must be bonded well to its subfloor and free of any wax, oil, dust, or paint particles. For use over existing ceramic tile, scarify surface of tile via mechanical abrasion with a Carborundum disk followed by a clear water wash. Do not use over vinyl, particleboard, luan plywood, gypsum-based underlayments, wall coverings, adhesive residue, masonite, metal, glass, plastic, or painted surfaces. Surfaces such as these will prevent bonding and should be covered with a cleavage membrane topped with a ? inch to ¾ inch (9.5 to 19.1 mm) reinforced mortar bed for floors. Wait a minimum of twenty (20) hours before dry-set mortar may be applied to the mortar bed. Contractor’s Choice Multi-Purpose Thin-Set Mortar may be used for radiant heating system installations. Do not use to install resin-backed stone. Not recommended for setting green, red, or black marble. The green and black moisture-sensitive marbles must be set with SGM EGS Epoxy Mortar. Consult SGM technical service department for product and installation recommendations.
- Expansion Joints: Do not tile over expansion, cold, or control joints. Follow the Tile Council of North America (TCNA) Handbook 2019, Method EJ 171 for detailed specifications.
CAUTION
Product is alkaline on contact with water. Use paddle for mixing to avoid splashing into eyes or contact with skin. During mixing or application avoid contact with eyes. In case of such contact, flood eyes repeatedly with water and CALL A PHYSICIAN. Wash thoroughly after handling and before smoking or eating. Do not take internally. CONTAINS FREE SILICA — DO NOT BREATHE DUST. Prolonged exposure to dust may cause delayed lung disease (Silicosis).
WARNING: This product may expose you to chemicals, including silica, which the State of California recognizes as a cause of cancer. For more information, visit the Proposition 65 Warnings Website (www.P65Warnings.ca.gov). Use NIOSH approved masks at all times to handle silica dust. KEEP OUT OF REACH OF CHILDREN.
MIXING
Add Contractor’s Choice Multi-Purpose Thin-Set Mortar powder to approximately 1½ gal (5.7 L) cool, clean, potable water per fifty (50) lbs. (22.7 kg) bag. When setting over exterior grade plywood (interior use only) use 1½ gallons (5.7 L) of Southcrete™ 25, 28, 30, or Southcrete™ 35 latex liquid in lieu of water.
Machine mixing with a slow speed drill and mixing paddle is preferred (250—350 RPM). Higher speeds are not recommended and will entrain air. Mix the two (2) components together thoroughly until smooth. The proper consistency is obtained when the mortar is applied with the notched trowel to the substrate and the ridges formed do not flow or slump.
Allow the mortar to slake for five (5) minutes, and then re-mix before use. Do not add any additional water, latex or powder after the mortar has slaked. Re-mix mortar occasionally during use and discard after initial set in a bucket.
APPLICATION
Detailed installation procedures may be found in the TCNA Handbook 2019 and ANSI 108.5. All materials and effected areas should remain above 50°F / 10°C (fifty degrees Fahrenheit / ten degrees Celsius) or below 100°F / 38°C (100 degrees Fahrenheit / 38 degrees Celsius) 24-hours prior and 72-hours after placement. Apply mixed mortar liberally with the flat side of the trowel, using sufficient pressure to key into the substrate; then apply additional mortar with the notched edge of trowel leaving enough mortar to give 100 percent coverage with the back of the tile. Place tile while the surface is wet and tacky and spread mortar over an area no greater than can be covered with tile before the mortar skins over. Place tiles with a twisting motion and beat lightly before the initial set takes place to fully embed in the mortar. Mortar that has formed a skin should be re-troweled before applying tile. Some irregular tiles may require back buttering. During the setting of tile, it is recommended to periodically remove a tile and check to see that sufficient transfer of mortar is being attained. Industry standards require a minimum of 3/32 inch (2 mm) mortar thickness after beat in. Do not adjust tiles after they have been set more than ten (10) to fifteen (15) minutes.
- NOTE: It is suggested that a mock-up for the evaluation of surface preparation techniques and application be done by applying three (3) to four (4) tiles and bonding mortar from the actual installation. These tiles should be left to cure for three (3) to seven (7) days and then removed to determine if an adequate bond has been obtained before the commencement of the installation.
A ¼” gap shall be left around vertical abutments to allow for structural movement and filled with appropriate elastomeric sealant.
CLEANING
Water is all that is required to remove uncured mortar.
CURING AND GROUTING
Minimum cure is reached in 12—24 hours. Setting may vary according to atmospheric conditions. Normal grouting should be done 48 hours later.
COVERAGE
Approximately:
- 75 sq. ft. per 50 lbs. when applied with ¼” x ¼” (6.4 mm x 6.4 mm) sq. notched trowel.
- 65 sq. ft using ¼” x ?” (6.4 mm x 9.5 mm) sq. notched trowel.
- 40 sq. ft. using ½” x ½” (13 mm x 13 mm).
SHELF LIFE
Up to one (1) year from date of manufacture in an unopened, properly stored container.
MAINTENANCE
None required.
Be the first to review “SGM Contractor’s Choice Multi-Purpose Thin-Set Mortar” Cancel reply
Related products
Tile Tools
Merkrete
Classic Stains


Reviews
There are no reviews yet.