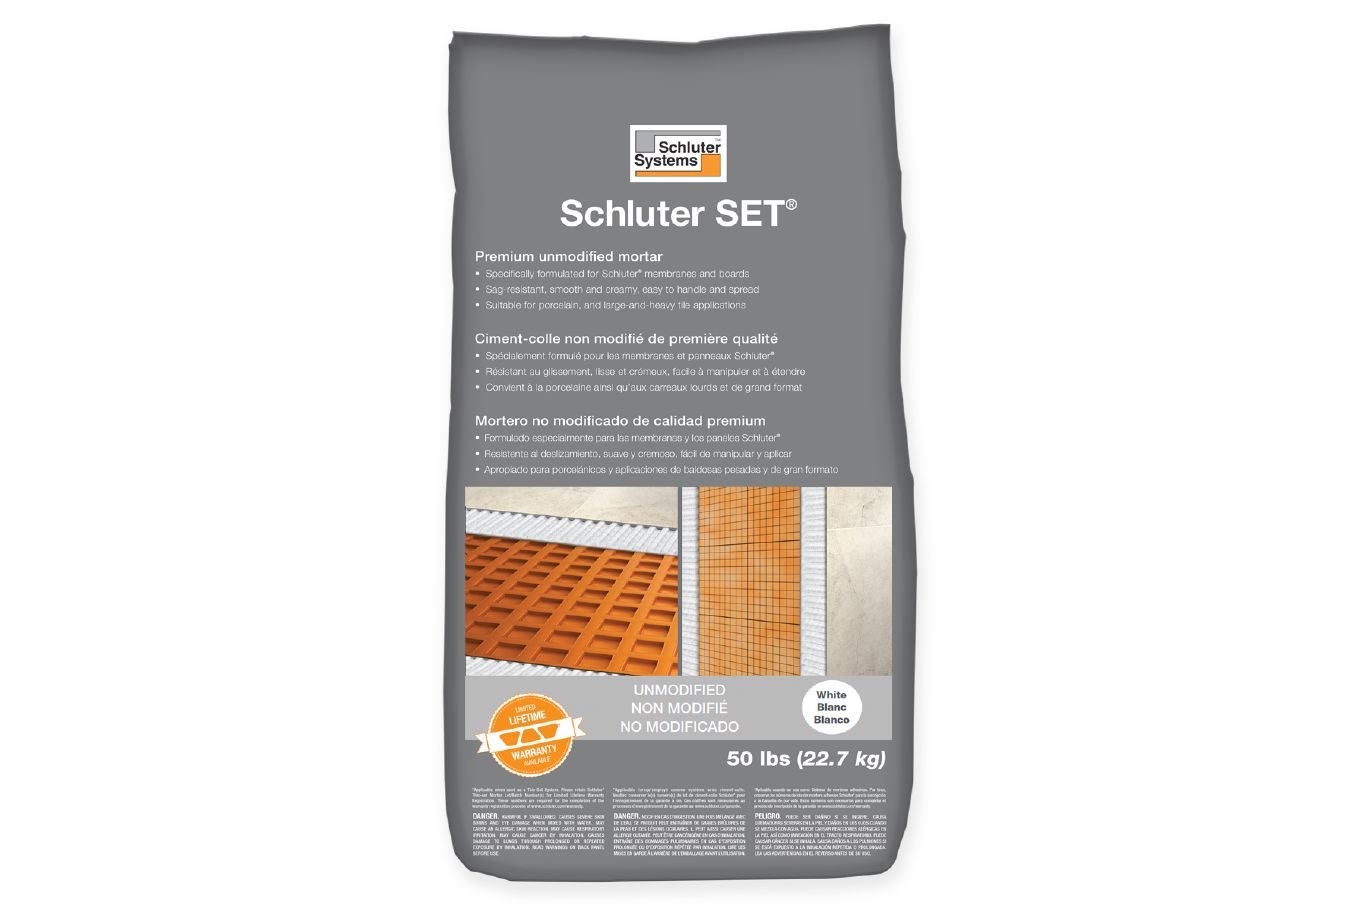
Schluter SET®
$23.95 – $25.85
Premium Unmodified Thin-set Mortar
- Sag-resistant, smooth and creamy
- Easy to handle and spread
- Suitable for use with ceramic, porcelain, and stone tile, including large and heavy tile
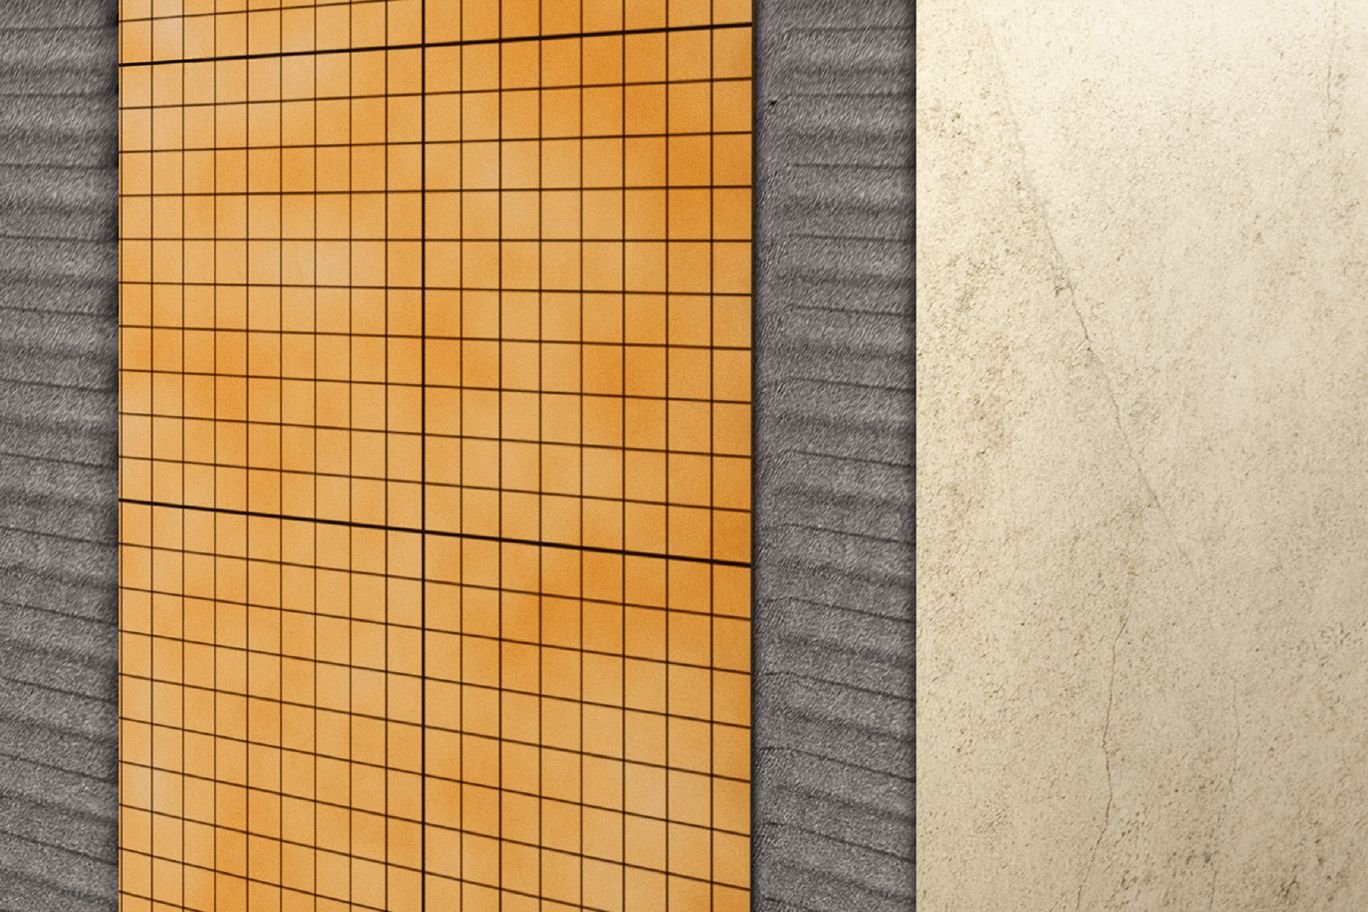
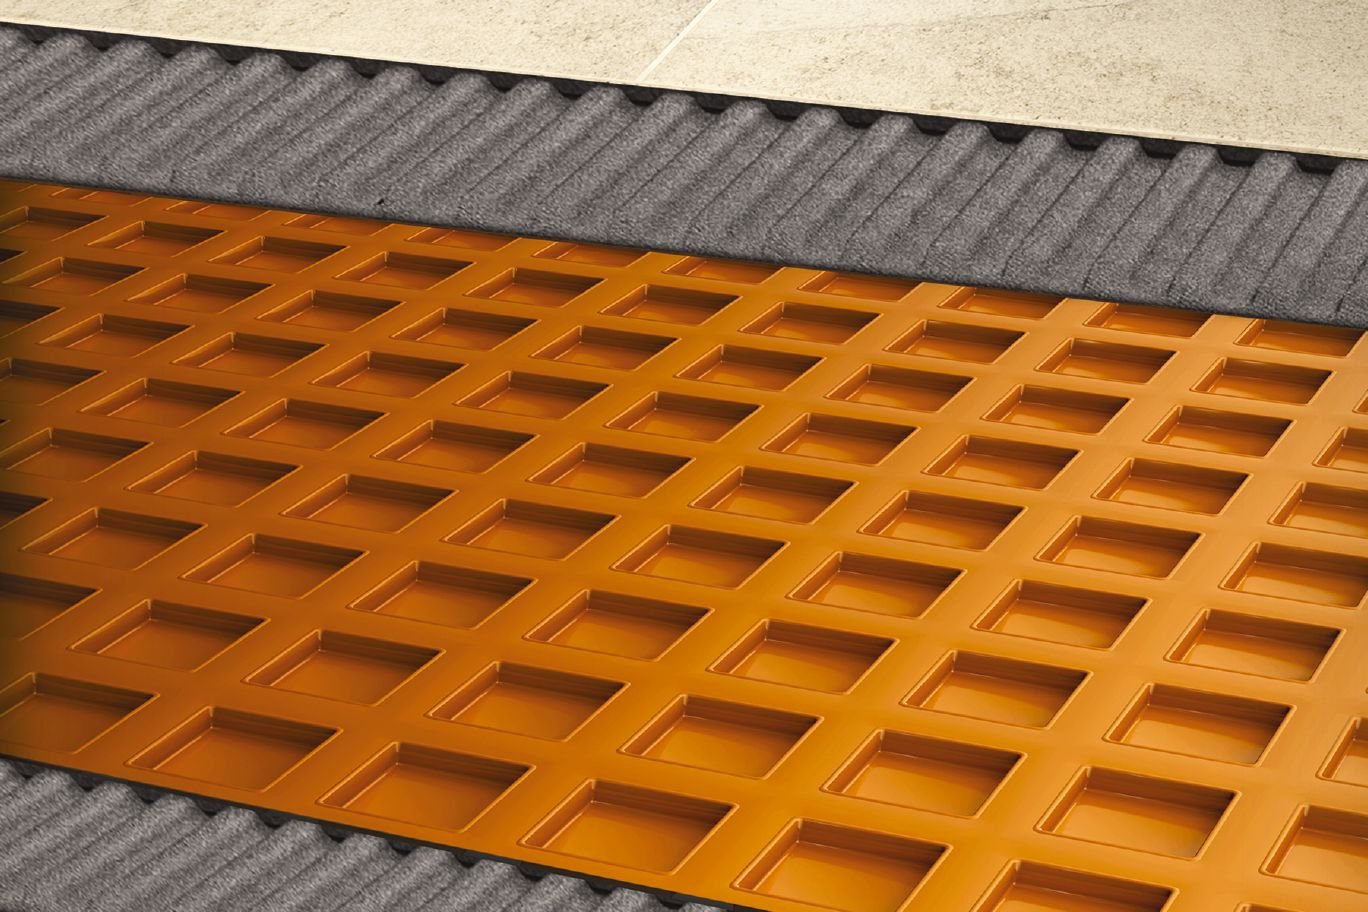
- To be used in conjunction with Schluter®-Systems’ uncoupling and waterproofing membranes (DITRA, DITRA-HEAT, and KERDI), the Schluter®-Shower System, and KERDI-BOARD
- Meets ANSI A118.1T
- Available in grey and white
- Lifetime warranty when used with applicable Schluter® products
Function
Schluter SET® is a premium, unmodified thin-set mortar for use as a bond coat within tile assemblies that is optimized for use with Schluter® membranes and boards. Schluter SET® is smooth and creamy, as well as easy to handle and spread. It is sag-resistant and ideal for setting tile on both horizontal and vertical surfaces. Schluter SET® is suitable for use with ceramic, porcelain, and stone tile, including large and heavy tile, in conjunction with Schluter®-Systems’ uncoupling and waterproofing membranes (e.g., DITRA, DITRA-HEAT, KERDI, etc.), the Schluter®-Shower System, and KERDI-BOARD. Schluter SET® can be used in both interior and exterior systems and is available in both grey and white.
Maintenance
Shelf Life and Storage: 2 years from the date on the side of the bag if unopened, not allowed to freeze, and stored off the ground in a dry, cool area protected from direct sunlight, heat sources and the weather.
Installation
For complete installation guidelines and warranty criteria, please download the appropriate Schluter® Installation Handbook and view the installation videos available below.
Materials must be acclimated to ambient conditions and installed when the ambient and surface temperatures are within a range of 40°F (4°C) to 95°F (35°C). Tenting of working area may be necessary to shade the surfaces from direct sunlight and/or rain. Direct sunlight or high temperatures may cause flash setting or skinning of the mortar. If an installation is to be completed in cold temperatures, the space must be heated before, during and after the installation to ensure proper curing of the mortar. Combustion heaters must be vented for carbon monoxide safety.
Surface Preparation 1. The substrate must be clean, even, and load bearing. Any leveling of the subfloor must be done prior to application of Schluter SET®. 2. For concrete substrates, remove any waxy or oily films and curing compounds (if present) by mechanical scarification (take steps to not to breath in any residual dust). 3. When bonding to particularly dry, porous concrete, the slab should be moistened to saturate the concrete and help prevent premature drying or skinning of the bond coat. Excess or standing surface water must be removed prior to installation. 4. For gypsum substrates, residual moisture in gypsum screed must be 2.0% or less before installing Schluter® uncoupling membranes. Follow gypsum manufacturer’s directions for additional substrate preparation.
Mixing 1. Put clean, potable water into a clean pail. Slowly add powder while beginning to mix. For installing Schluter membranes, use 7.5 – 8.5 qts (7.1 – 8.0 L) of water to 50 lbs (22.7 kg) of mortar. For installation of tile, use 5.5 – 6.5 qts (5.2 – 6.2 L) of water to 50 lbs (22.7 kg) of mortar. 2. Mix at a slow speed (<300 rpm) for 5 minutes. Let the mixture slake for 10 minutes then remix at a slow speed (<300 rpm) for an additional 3 minutes. 3. Following this procedure will produce the best workability and help ensure maximum open time of the mortar. For Schluter® membranes the mortar should be mixed to a fairly fluid consistency, but still able to hold a notch. Do not add more water after mixing.
Application To substrate: 1. Apply a thin layer of the mortar with the flat side of the trowel to produce solid contact with the substrate. 2. Using an appropriate sized notched trowel, comb additional mortar using the notched side of the trowel. Mortar ridges should run in one direction. 3.a. Schluter®-DITRA family of uncoupling membranes: Solidly embed into the mortar using a float, screed trowel, or Schluter®-DITRA-ROLLER (please observe the open time of the mortar). When using DITRA-ROLLER, place a weight (e.g., bag(s) of mortar/grout or box of tile) not to exceed 75 lbs (34 kg) on the DITRA-ROLLER shelf. Slowly move the roller from one end of the matting to the other, slightly overlapping successive passes. Lift up a corner of the membrane to check coverage. Proper installation results in full contact between the fleece webbing and the mortar. b. Schluter®-KERDI family of waterproofing membranes: Solidly embed into the mortar using the flat side of the trowel or a drywall finishing knife and work the membrane onto the entire surface to ensure full coverage and remove air pockets. Lift up a corner of the membrane to check coverage. Proper installation results in full contact between the fleece webbing and the mortar. c. Tile: Solidly embed the tile in the mortar, pushing the tile in a back and forth motion to collapse the mortar ridges. Periodically remove and check tile to ensure sufficient coverage is being attained (>80% for dry applications, >95% for exterior or shower applications – see ANSI A108.5). Back-buttering is a useful way to help ensure proper coverage, particularly when installing 12″ x 12″ (305 mm x 305 mm) and larger tiles. Clean all excess mortar from tile and joints while mortar is still plastic using a sponge and clean water. 4. Make sure to observe the open time of the thin-set mortar. If the mortar skins over, remove and re-apply fresh mortar.
To DITRA or KERDI products:
1.a. Schluter®-DITRA family of uncoupling membranes: Completely fill the cavities in the membrane.
b. Schluter®-KERDI family of waterproofing products: Apply a thin layer of the mortar with the flat side of the trowel to produce solid contact with the fleece.
2. Using an appropriate sized notched trowel, comb additional mortar using the notched side of the trowel. Mortar ridges should run in one direction.
3. Solidly embed the tile in the mortar, pushing the tile in a back and forth motion to collapse the mortar ridges.
4. Using care not to release the membrane from the substrate, periodically remove and check tile to ensure sufficient coverage is being attained (>80% for dry applications, >95% for exterior or shower applications – see ANSI A108.5). Back-buttering is a useful way to help ensure proper coverage, particularly when installing 12″ x 12″ (305 mm x 305 mm) and larger tiles.
5. Make sure to observe the open time of the thin-set mortar. If the mortar skins over, remove and re-apply fresh mortar.
6. Clean all excess mortar from tile and joints while mortar is still plastic using a sponge and clean water.
Clean Up
Clean tools with water while mortar is plastic.
Curing and Grouting
Maintain ambient and surface temperatures between 40°F to 95°F (4° C to 35° C). Wait at least 12 hours at 70° F (21° C) before grouting. Extended cure times before and after grout application may be required if temperatures are lower. Install grout per ANSI A108.10, A108.9 or A108.6 specifications and grout manufacturer’s instructions. Protect the installation from traffic and water exposure for a minimum of 24 hours to allow the mortar to set. Protect the installation from freezing for a minimum of 28 days.

| Brand | Schluter |
|---|---|
| Product type | Thin set |
| Color | Grey, White |
| Weight | 22.7 kg (50 lbs) |
Be the first to review “Schluter SET®” Cancel reply
Related products
Setting Materials
Setting Materials
Setting Materials










Reviews
There are no reviews yet.