Schluter®-KERDI-BOARD-SN
$65.26 – $126.27
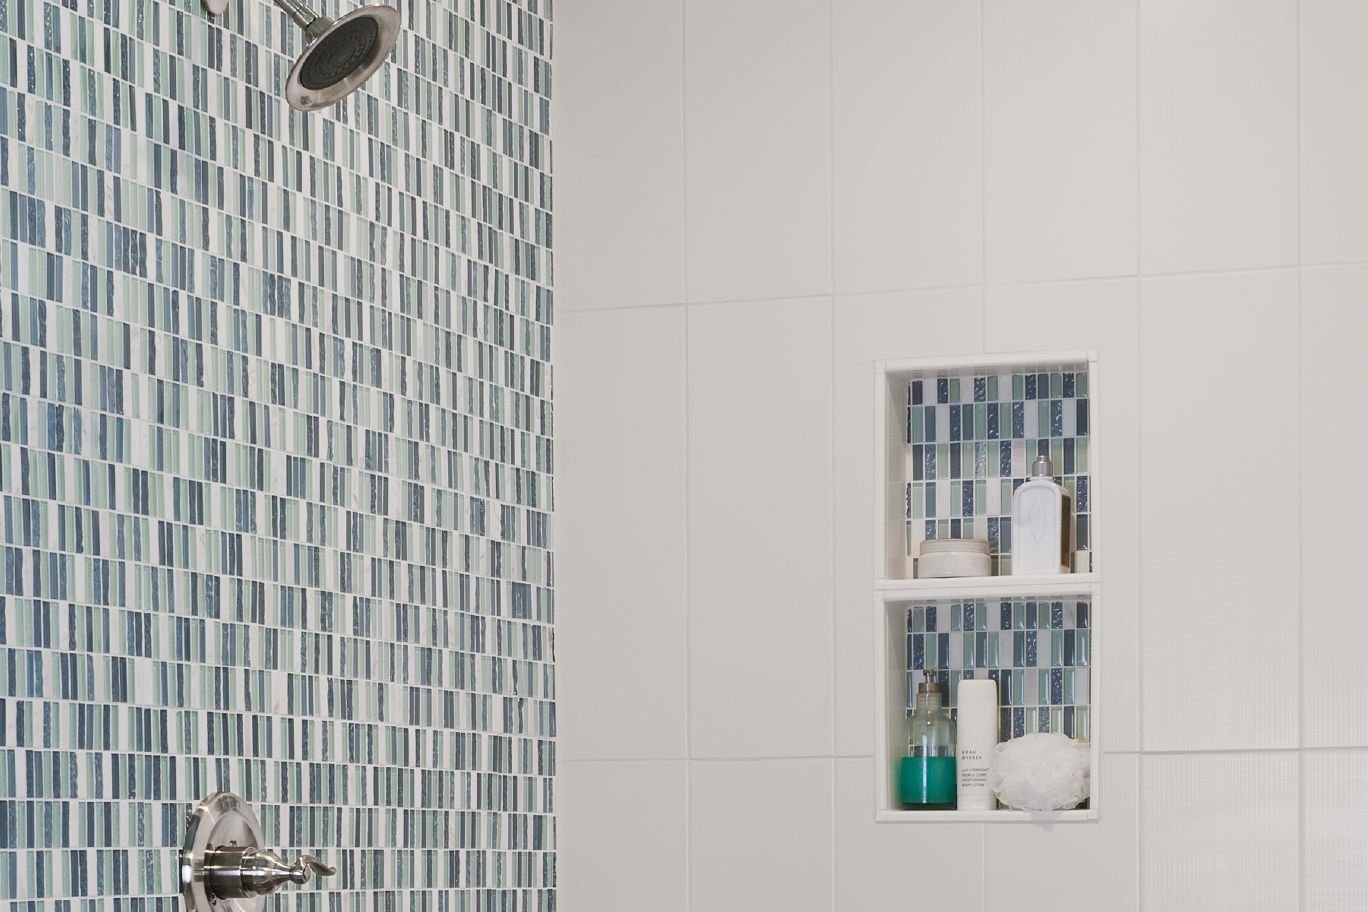
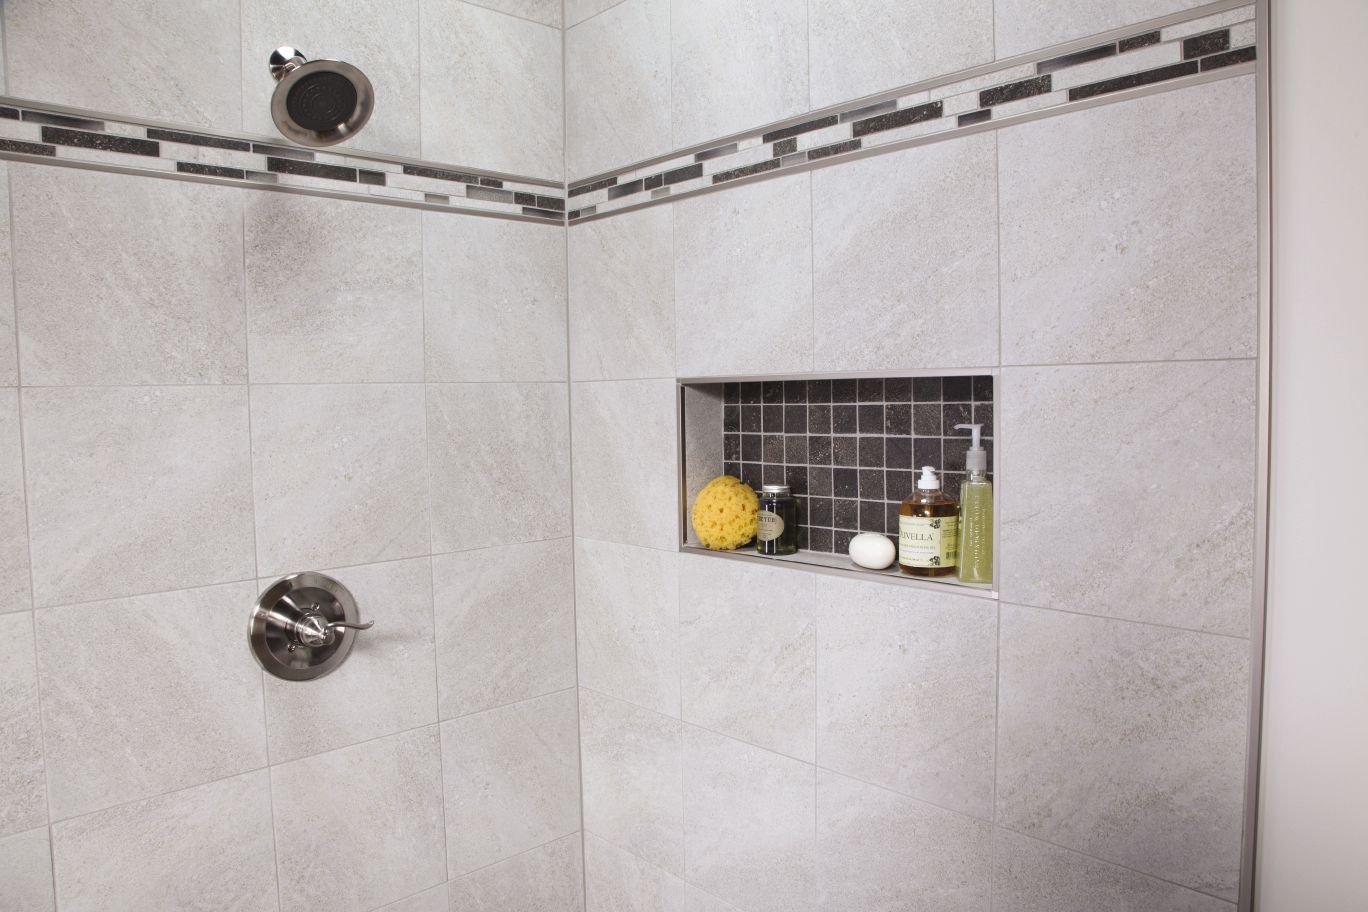
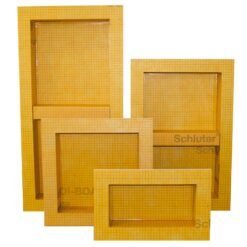
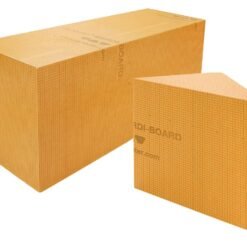
Schluter®-KERDI-BOARD-SN is a prefabricated shower niche that is fully sealed, quick to install, and integrates with KERDI and KERDI-BOARD shower assemblies. The larger niche sizes include a KERDI-BOARD shelf that can be installed at any height to create separate compartments within the niche.
- Fully waterproof and vapor-tight
- Features sealed inside corners for effective waterproofing
- To enhance its appearance, frame the niche using select Schluter® profiles
- Larger sizes include a prefabricated, adjustable KERDI-BOARD shelf
- Available in four different sizes
Function
Schluter®-KERDI-BOARD-SN is a prefabricated shower niche made of KERDI-BOARD that can be installed in both KERDI and KERDI-BOARD wall assemblies. The shower niche features a 1/2″ (12.5 mm) -thick by 2″ (50 mm) -wide integrated bonding flange and is available in 12″ x 6″ (30 x 15 cm), 12″ x 12″ (30 x 30 cm), 12″ x 20″ (30 x 51 cm), and 12″ x 28″ (30 x 71 cm) sizes.
Installation
Schluter®-KERDI over solid backing
1. Determine desired location and trace around the outside of the KERDI-BOARD-SN flange, making sure the lines are level and plumb. Cut and remove the wallboard such that the niche will be supported on both sides by the studs or other wall framing.
2. Insert the niche and fasten to the studs using wood or metal screws, placing the fasteners approximately 1/4″ (6 mm) from the edges of the niche. Fasten all corners and limit fastener spacing to 12″ (30 cm) o.c.
3. Connections between the niche and walls are made using KERDI membrane, applied with Schluter-SET, Schluter-ALL-SET, Schluter-FAST-SET, or unmodified thin-set mortar (mixed to a fairly fluid consistency, yet still able to hold a notch). Apply the thin-set mortar using a 1/4″ x 3/16″ (6 mm x 5 mm) V-notched trowel or the Schluter®-KERDI-TROWEL, which features a 1/8″ x 1/8″ (3 mm x 3 mm) square-notched design. Apply the membrane over the wall and embed into the mortar throughout its entire surface to ensure proper adhesion. Remove any air pockets. The membrane is subsequently cut to match the niche opening.
Schluter®-KERDI-BOARD over wood or metal framing
1. Determine desired location and trace around the outside of the KERDI-BOARD-SN flange, making sure the lines are level and plumb. Cut and remove the KERDI-BOARD such that the niche will be supported on both sides by the studs or other wall framing.
2. Insert the niche and fasten to the studs using wood or metal screws and KERDI-BOARD-ZT washers, placing the fasteners along the seam between the KERDI-BOARD and the niche. Fasten all corners and limit fastener spacing to 12″ (30 cm) o.c.
3. Seal the seams between the niche and walls using KERDI-BAND with Schluter-SET, Schluter-ALL-SET, Schluter-FAST-SET, or unmodified thin-set mortar ensuring a 2″ (50 mm) overlap in all directions.
Note: When using the prefabricated shelf, determine the desired height of the shelf and mark with a level line. Set tile up to that line on the back and sides of the niche. Butter the sides and back of the shelf with Schluter-SET, Schluter-ALL-SET, Schluter-FAST-SET, or unmodified thin-set mortar and solidly embed it in the niche, resting on the previously installed tile. The shelf may be raised at the back to create a slope, or the tile may be set on a slope, to prevent water from pooling in the finished application.
Maintenance
The KERDI-BOARD-SN should be stored flat. In case of outdoor storage, protect the material from direct sunlight and weather exposure.
Schluter®-KERDI-BOARD-SN
Schluter®-KERDI-BOARD-SN es un nicho de ducha prefabricado que está completamente sellado, se instala rápidamente y se integra con los conjuntos de ducha KERDI y KERDI-BOARD. Los tamaños de nicho más grandes incluyen un estante KERDI-BOARD que se puede instalar a cualquier altura para crear compartimentos separados dentro del nicho.
- Totalmente resistente al agua y al vapor
- Características selladas dentro de las esquinas para una impermeabilización efectiva
- Para mejorar su apariencia, enmarque el nicho utilizando perfiles seleccionados de Schluter®
- Los tamaños más grandes incluyen un estante KERDI-BOARD prefabricado y ajustable
- Disponible en cuatro tamaños diferentes.
Función
Schluter®-KERDI-BOARD-SN es un nicho de ducha prefabricado hecho de KERDI-BOARD que se puede instalar en los conjuntos de pared KERDI y KERDI-BOARD. El nicho de ducha cuenta con una brida de unión integrada de 1/2 “(12.5 mm) de espesor por 2” (50 mm) de ancho y está disponible en 12 “x 6” (30 x 15 cm), 12 “x 12” (30 x 30 cm), 12 “x 20” (30 x 51 cm) y 12 “x 28” (30 x 71 cm).
Instalación
Schluter®-KERDI sobre respaldo sólido
1. Determine la ubicación deseada y trace alrededor del exterior de la brida KERDI-BOARD-SN, asegurándose de que las líneas estén niveladas y aplomadas. Corte y retire el tablero de pared de manera que el nicho se sostenga en ambos lados por los montantes u otro marco de la pared.
2. Inserte el nicho y fíjelo a los pernos con tornillos para madera o metal, colocando los sujetadores aproximadamente a 1/4 “(6 mm) de los bordes del nicho. Sujete todas las esquinas y limite el espacio del sujetador a 12” (30 cm) o.c.
3. Las conexiones entre el nicho y las paredes se realizan utilizando una membrana KERDI, aplicada con Schluter-SET, Schluter-ALL-SET, Schluter-FAST-SET o mortero de fraguado delgado no modificado (mezclado con una consistencia bastante fluida, pero aún capaz de mantener una muesca). Aplique el mortero de capa delgada con una llana dentada en V de 1/4 “x 3/16” (6 mm x 5 mm) o la PALA-KERDI-Schluter®, que cuenta con un 1/8 “x 1/8” ( 3 mm x 3 mm) diseño de muesca cuadrada. Aplique la membrana sobre la pared e incruste en el mortero en toda su superficie para asegurar una adhesión adecuada. Retire cualquier bolsa de aire. La membrana se corta posteriormente para que coincida con la abertura del nicho.
Schluter®-KERDI-BOARD sobre estructura de madera o metal
1. Determine la ubicación deseada y trace alrededor del exterior de la brida KERDI-BOARD-SN, asegurándose de que las líneas estén niveladas y aplomadas. Corte y retire el KERDI-BOARD de modo que el nicho se sostenga en ambos lados por los montantes u otro marco de la pared.
2. Inserte el nicho y fíjelo a los pernos con tornillos para madera o metal y arandelas KERDI-BOARD-ZT, colocando los sujetadores a lo largo de la costura entre el KERDI-BOARD y el nicho. Fije todas las esquinas y limite el espacio del sujetador a 12 “(30 cm) o.c.
3. Selle las costuras entre el nicho y las paredes con KERDI-BAND con Schluter-SET, Schluter-ALL-SET, Schluter-FAST-SET o mortero de capa delgada sin modificar, asegurando una superposición de 2 “(50 mm) en todas las direcciones.
Nota: Cuando use el estante prefabricado, determine la altura deseada del estante y márquelo con una línea nivelada. Coloque el mosaico hasta esa línea en la parte posterior y los lados del nicho. Unte con mantequilla los lados y la parte posterior del estante con mortero Schluter-SET, Schluter-ALL-SET, Schluter-FAST-SET o mortero de capa delgada no modificado y empújelo sólidamente en el nicho, descansando sobre la loseta previamente instalada. El estante puede elevarse en la parte posterior para crear una pendiente, o la loseta puede colocarse en una pendiente, para evitar que el agua se acumule en la aplicación finalizada.
Mantenimiento
El KERDI-BOARD-SN debe almacenarse plano. En caso de almacenamiento al aire libre, proteja el material de la luz solar directa y la exposición a la intemperie.
Downloads
Product Sheet
| Size | 12 x 12", 20 x 12", 28 x 12", 6 x 12" |
|---|---|
| Brand | Schluter Systems |
Related products
Schluter Systems
Schluter Systems
Brands
Schluter Systems
Schluter Systems


